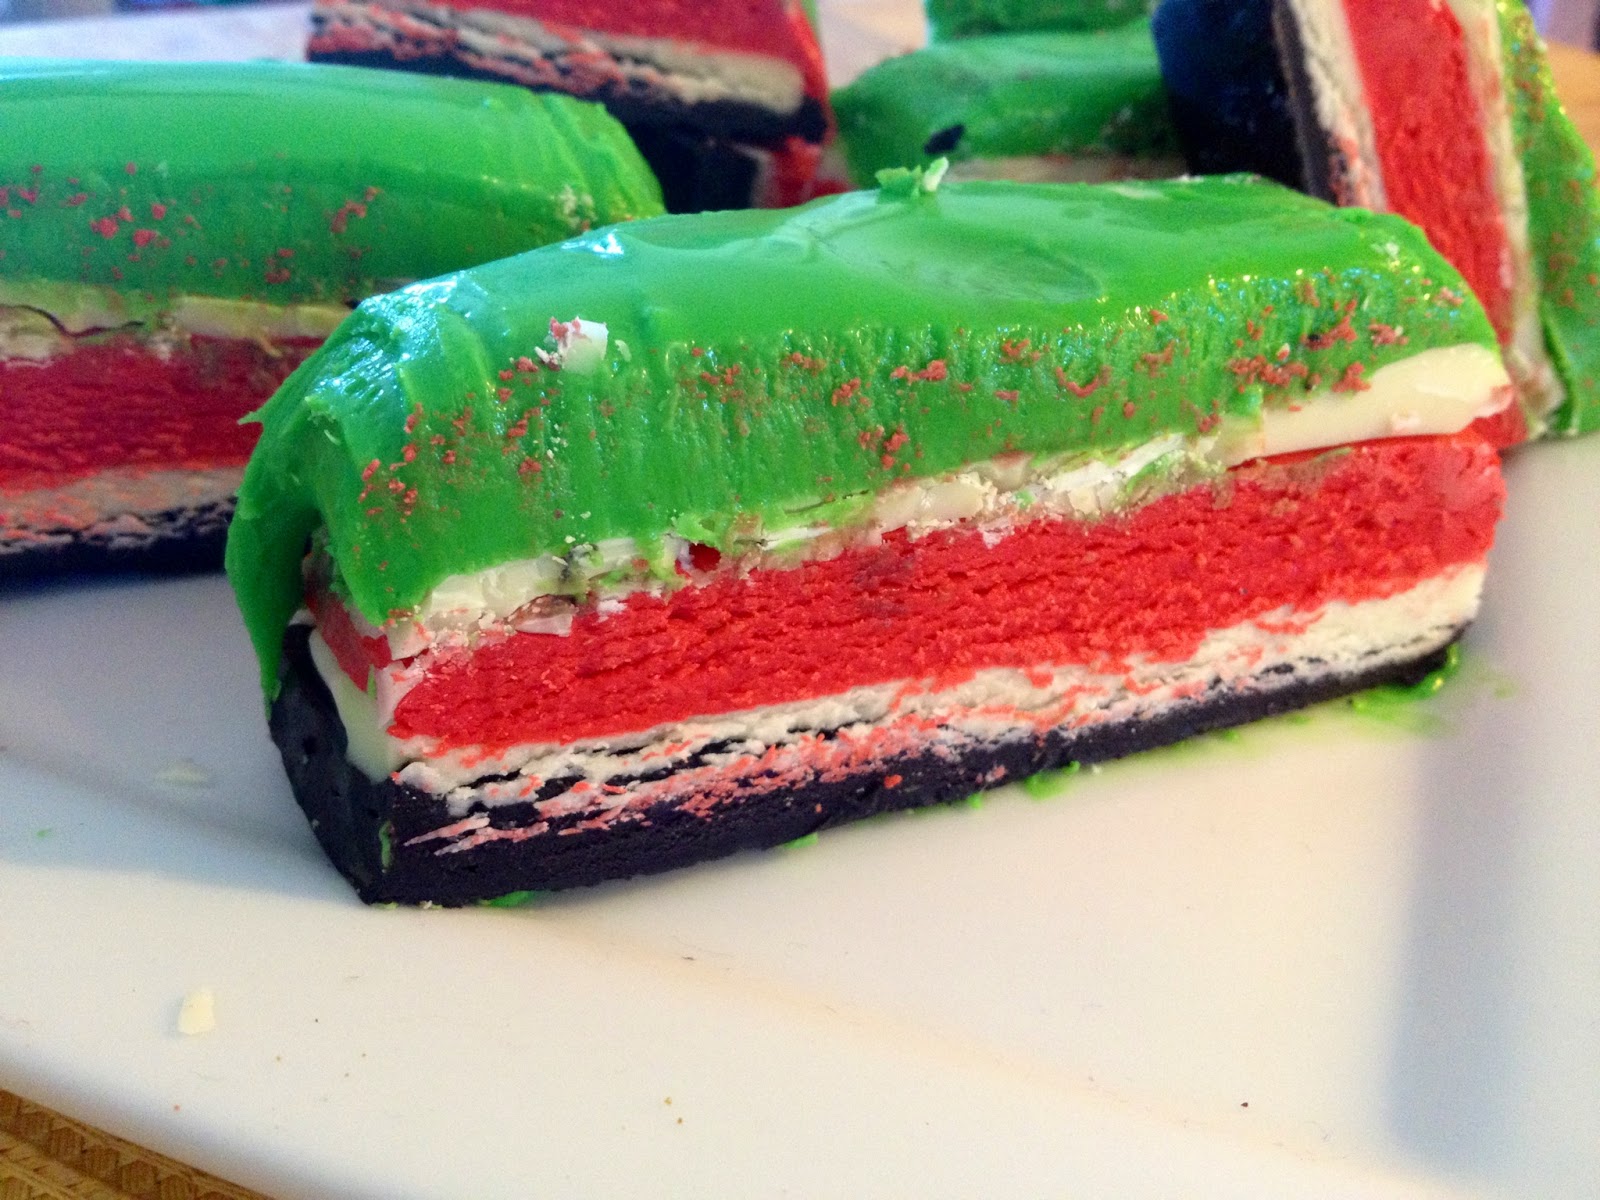


The Summer holidays are here. That means my boys will want to spend more time with me in the kitchen. That being said, I have been on the hunt for creative recipes that are kid-approved and Summer-friendly. I came across this fudge recipe on pintrest and I tweaked it a bit. I finally found a good recipe for fudge. Fudge is a type of confectionery, which is usually soft, sweet and rich. There are many variations of fudge. Some contain dried fruit or nuts. This particular recipe employs the use of white chocolate as a base sweetener. I know that fudge is not typically an African dessert. However, my taste buds do not discriminate when it comes to flavor. If it's good, it's good-even if it comes from Mars :) I just added a touch of Kenya to it (the colors of the Kenyan flag). So not only does it taste great, it's aesthetically pleasing. Anyone who knows me knows that I like desserts and I like pretty things. So to me, this recipe is a winner because it tastes and looks good.
PS: Feel free to play around with the colors. Use whatever colors you like. For each color you use, you will need about 6Oz. of white chocolate (please do not use white candy melts. The texture of the fudge won't be right), 1/2 teaspoon of pure vanilla extract and 1/2 a cup of sweetened, condensed milk and 1/2 teaspoon of gel food coloring of your choice. You will need to let each layer/color set for 15mins in the freezer as you assemble the fudge. How easy is that?! Now let your imagination run wild!
Here's how I made mine...
INGREDIENTS:
-1 14OZ can of sweetened condensed milk will produce enough milk for TWO different colors (each color requires 1/2 a cup of sweetened condensed milk. So buy the condensed milk according to how many colors you will use).
-6Oz. of white Baker's chocolate per color you use. Purchase these according to how many colors you will use.
-1/2 teaspoon of pure vanilla extract OR almond extract per color you use.
-Food coloring. I used Wilton Brand gel food coloring (you can find it at Walmart or any craft store). You can also use powder food coloring. I find gel food coloring to be the best in this recipe as the colors are intense and they do not change the consistency of the fudge.


EQUIPMENT:
-Aluminium foil.
-Loaf pan.
-Rubber or wooden spatula.
-Small mixing bowls that are also microwave-safe.
-Spoon for mixing the molten chocolate.
-Measuring cup (1/2 cup measure).
-Can opener.
-Toothpicks or chopsticks for scooping the food coloring (if you're using gel food coloring).


INSTRUCTIONS:
-Line your loaf pan with aluminium foil as shown in the video. This will help you release the fudge easier once its set.
-In a microwave-safe dish, measure out 6 OZ of white chocolate and break it up into smaller pieces. This will help it heat up faster.

-Add the 1/2 cup evaporated milk, and the 1/2 teaspoon vanilla extract.
-Heat in the microwave for around 40-45 seconds
(not minutes like I said in the video. That was a slip of the tongue :)). Stop at 30 seconds and stir, then return it back to the microwave until it is completely melted.
-Stir the mixture with a spoon until soft and creamy (make sure there are no bits of unmelted chocolate in the bowl).
-Using the tip of a toothpick or chopsticks, scoop out a small amount of the gel food coloring and drop it into the molten chocolate mix, Stir. If you'd like a more intense color, keep adding a little food coloring to the chocolate at a time until you attain the desired color.
-Pour the molten chocolate mix into the lined loaf pan. Use your spatula to spread each layer evenly.
-Lift and drop the pan on the counter several times to release the air-bubbles that have formed as you pour the fudge into the pan (like I did in the video).
-Each time you add a layer to the pan, put it in the freezer for about 15 minutes to allow it to set, before you add another color/layer.
-Repeat this process until you have added all the colors you want.
-Once all the colors are done, loosely cover the top with foil and let sit it the freezer for 12 hours or overnight until completely set (I let mine sit overnight).
-Once the fudge is set, place the whole loaf pan in a bigger shallow bowl filled with warm water for not more than 10 seconds to help the fudge release from the sides of the loaf pan. You can skip this part. it's optional.
-Now unwrap the foil from the sides of the pan and simply lift the fudge out of the pan (while still in the foil).
-Carefully separate the foil from the fudge and slice horizontally. Further cut these slices into smaller pieces and serve.

This is a very rich fudge so go easy on the serving size :) Enjoy!
If you have kids, this is a fun project to work on together. This makes a great gift if wrapped in a clear cello bag and some ribbon, or in a pretty cookie can lined with some wax paper. You can also sell these in a bake sale or take them to your next gathering. They can keep for up to 3 weeks if stored in an air-tight container in the freezer. Just remove from the freezer and let it sit at room temperature for 25-30mins before you are ready to enjoy them :)
This comment has been removed by a blog administrator.
ReplyDelete